
Postman Fundamentals Part 2
Writing Tests
Having set up Postman and having had an introduction to REST APIs, we are going to create some actual tests. Use the same url as per the last blog https://jsonplaceholder.typicode.com/users. Our tests are going to verify that a value or values in our response match our expected values.
Jump to the test tab and we can see lots of lovely snippets that Postman has kindly provided us. Let us use one of these, a common one would be to check that the status code is correct.
Status code: Code is 200 to check if the status code comes back correct
Hit send and we can see in the Test Results that our test passed. Success!
A key part of being able to write good tests is understanding the structure of the test. In our test, let’s dissect the syntax. The snippet is Javascript code; while you don’t need to know javascript to a developer level it still helps to understand the basics you can eventually write your own tests in code or at least be able to modify the existing code snippets.
pm.test (“Status code is 200”, function () { pm.response.to.have.status(200); });
All tests will start with pm.test which is a function. The first argument in the function parentheses is the name of the function which is called “Status code is 200”. The second parameter is the call back function called when the execution has finished. The function contains the code pm.response.to.have.status(200) which is the response assertion which is where the check happens that the status code returned back is 200.
It is worth knowing that there are a number of javascript libraries available to us in Postman that we can leverage for example chai, cheerio, postman-collection, uuid, tv4 to name a few.
We will now expand our test set to have a few tests. We will add code snippets to check the response time is what we expect, and another one to check the values in the body response are what we expect them to be.
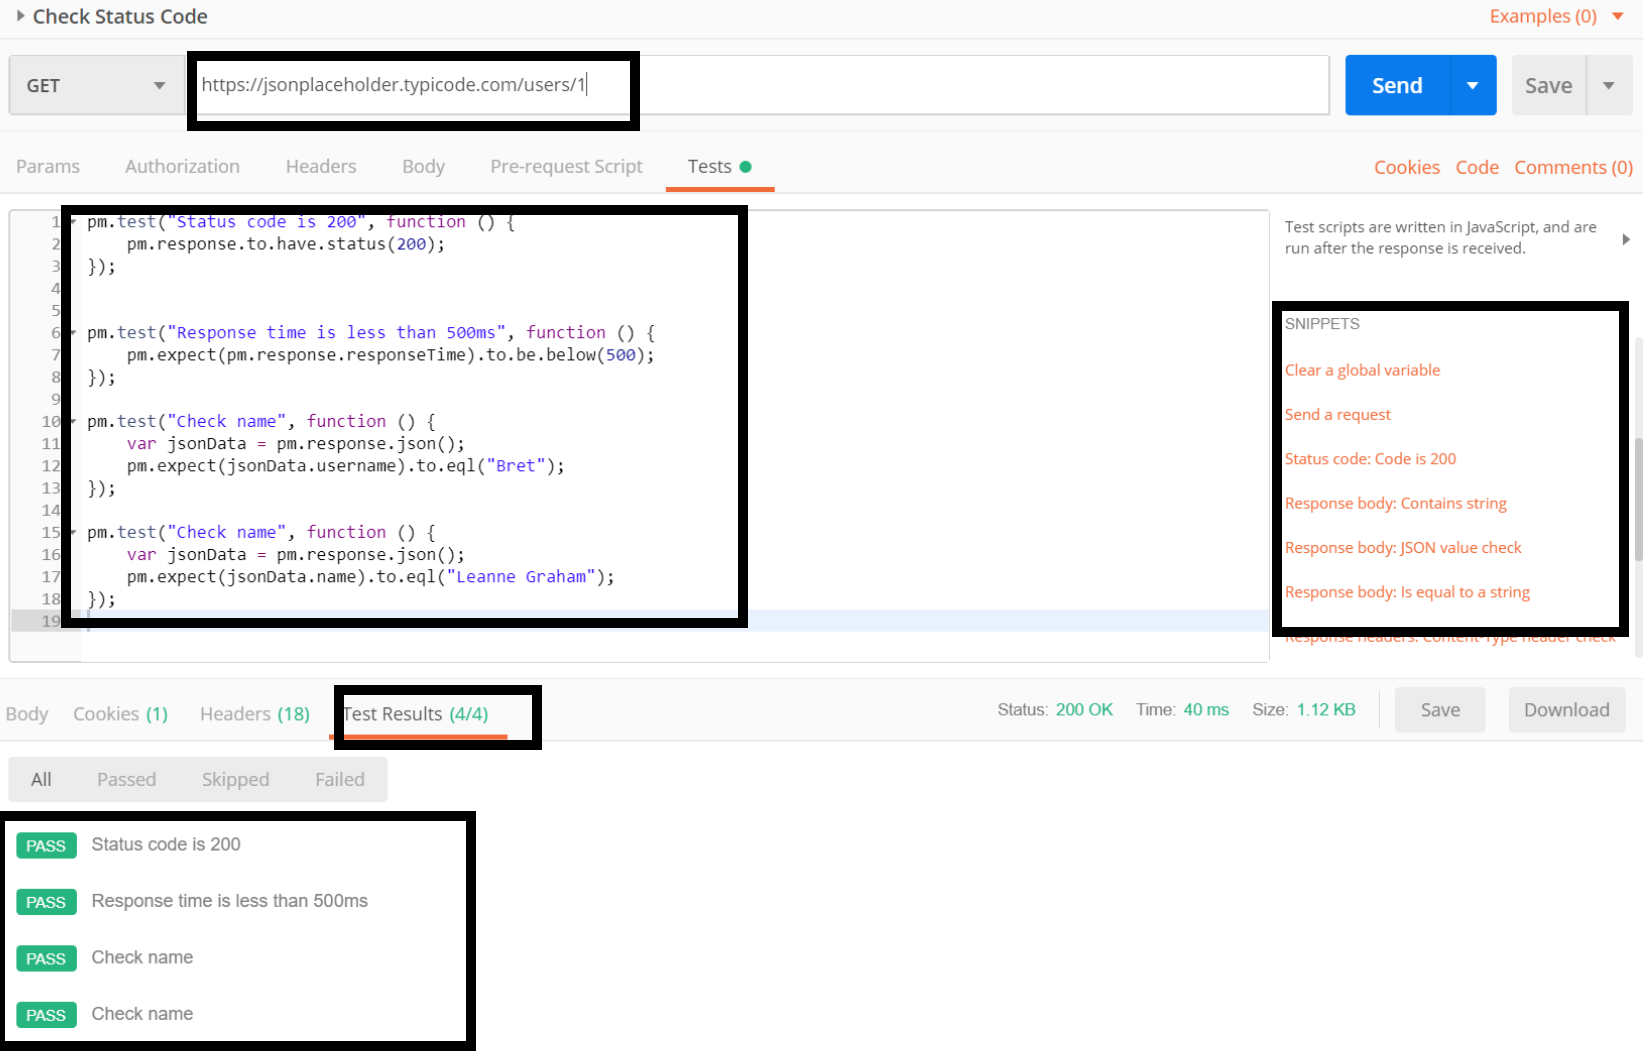
https://jsonplaceholder.typicode.com/users/1
pm.test(“Status code is 200”, function () {
pm.response.to.have.status(200);
});
pm.test(“Response time is less than 500ms”, function () {
pm.expect(pm.response.responseTime).to.be.below(500);
});
pm.test(“Check name”, function () {
var jsonData = pm.response.json();
pm.expect(jsonData.username).to.eql(“Bret”);
});
pm.test(“Check name”, function () {
var jsonData = pm.response.json();
pm.expect(jsonData.name).to.eql(“Leanne Graham”);
});
All tests should pass when we click on send
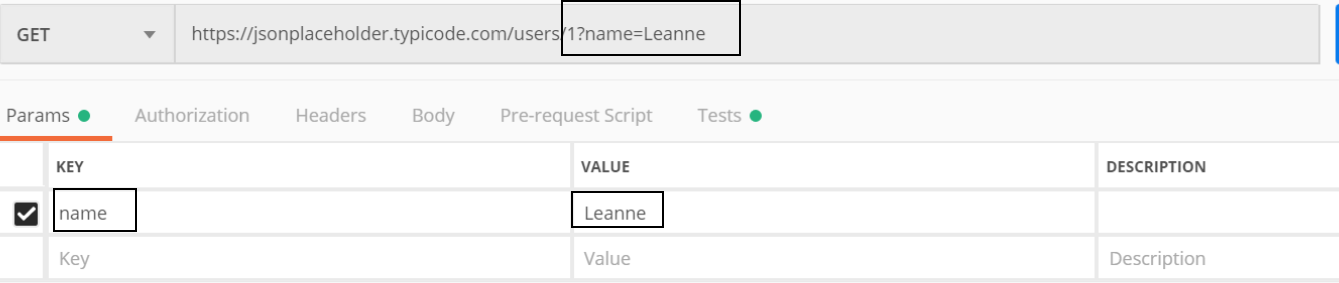
At this point, it is worth knowing the difference between the Path Parameter and Query Parameter. If we analyse the request we made, we had the id value 1 which is a path parameter. https://jsonplaceholder.typicode.com/users/1. We can add a query parameter by clicking on the Params tab and entering the name of our query parameter in the key field and the value of the parameter in the value field. For example we can add name as the key and Leanne as our value and we see that Postman automatically adds a ? followed by the query showing that a query parameter has been added to our path.
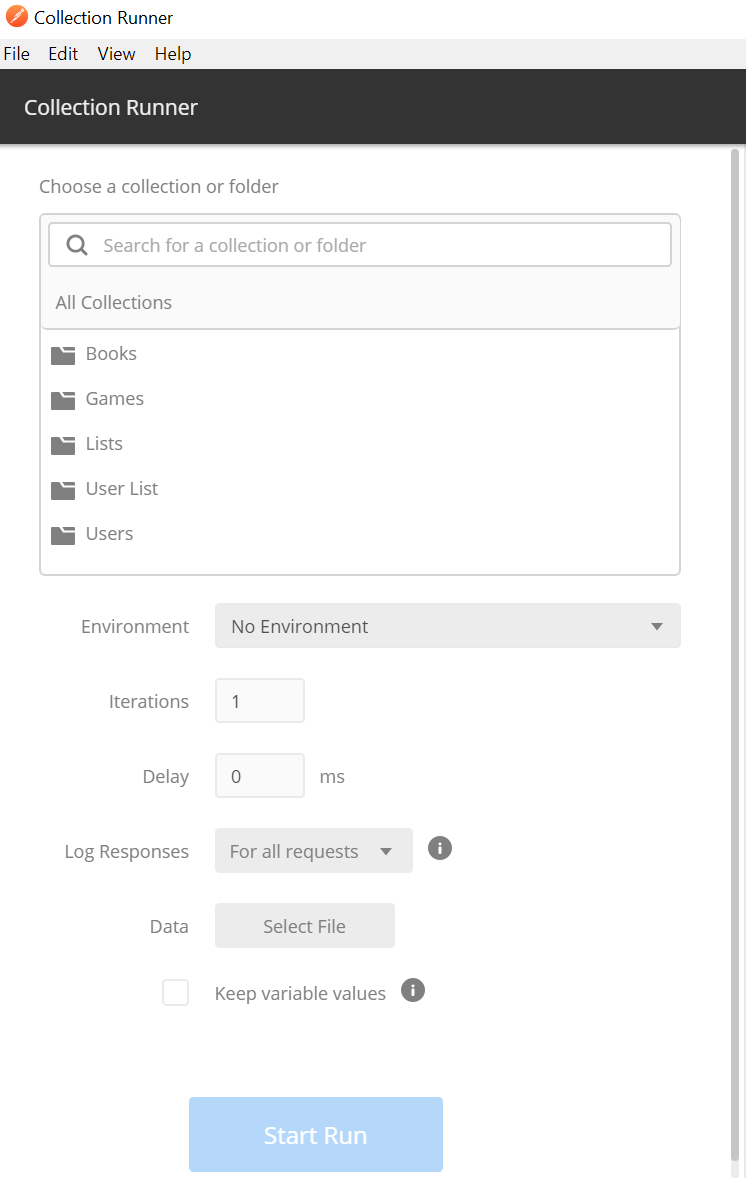
Collection Runner
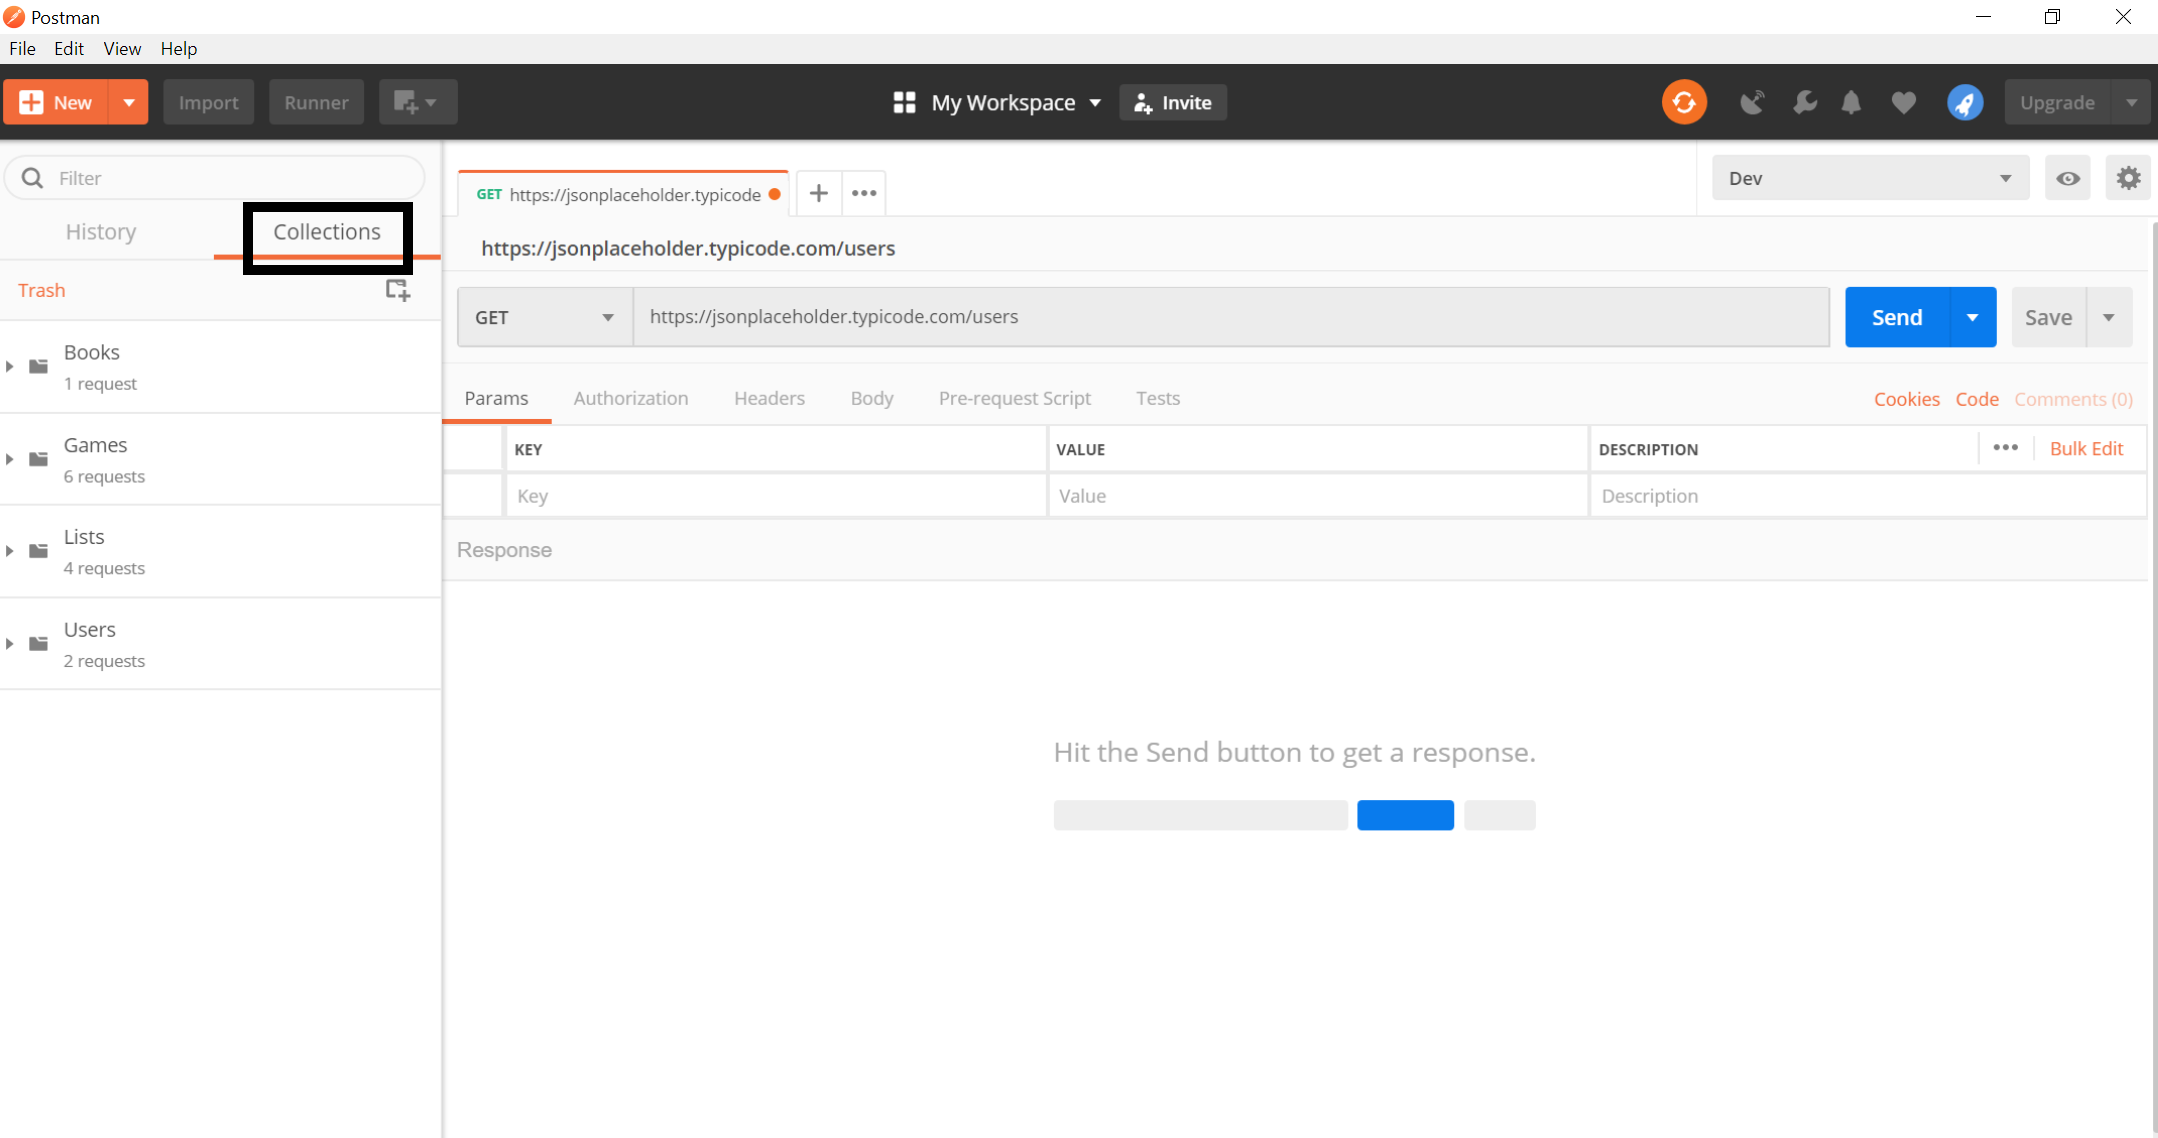
We got our results back in the Test Results tab but there is a far better way of running our tests as a test suite and moving more towards automation. Postman saves requests by placing them in a collection and the collection allows you organise your requests. Go to the collections icon on the left hand side and create a new Collection.


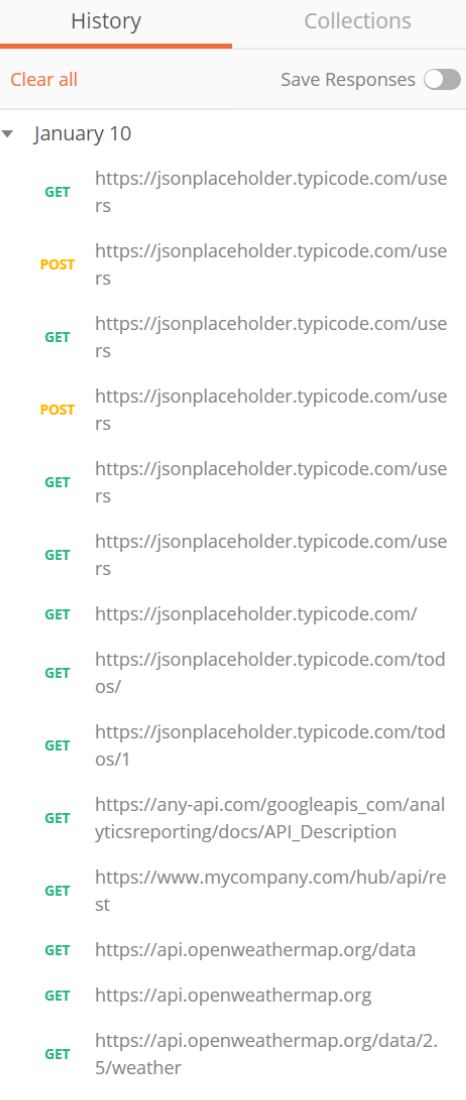
We can now add requests to our collection and all our history of our requests can also be seen.
Open the Runner from left hand side, select the collection you have saved , select your environment, enter the number of iterations and then hit run. We can now see the results in a much more useful output.

Assertions
Having been able to create some useful test requests and use the collection runner successfully, we need to understand a bit more about the assertions that we make in our tests. I’d like to introduce you at this stage to the Chai Assertion Library. The idea of this assertion library to make your tests easier to read more expressive and as it has the behaviour driven development style, it’s human readable syntax.
Assert, Expect and Should are some of the assertion styles you should be aware of and get familiar with to write well written easy to read tests. Some examples of expects we can do are:
expect(name).to.be.a(‘string’);
expect(name).to.equal(‘Leanne’);
expect(name).to.have.lengthOf(6);
To get familiar with all the assertion styles, head over to https://www.chaijs.com/guide/styles/.