
Postman Fundamentals

Introduction
Before we start, let us have a recap on some basics; what is an API and what is API testing?
An API is in simple terms like a software intermediary that just allows two applications to talk to each other. An API makes it possible to transfer data from an application to other applications. An API receives requests and sends back responses through internet protocols such as HTTP, SMTP and others.
So, following that, API testing is performed so that the APIs meet the testers’ expectations of functionality, reliability, performance, and security. Unlike UI testing, API testing is performed at the message layer without GUI.
REST and SOAP?
Simple Object Access Protocol (SOAP) and Representational State Transfer (REST) are essentially 2 ways to access web services. SOAP which requires the correct XML structure is a more rigid set of messaging patterns than REST that are based on Uris/URLs and HTTP which can output the data usually in JavaScript Object Notation (JSON) but also allows other data formats.
What is Postman and why use it?
Having been used by over 5 million developers and testers around the world last year, API testing is likely to grow further in 2019 so knowing how to use Postman effectively will be a powerful asset. Postman makes it easy to test, develop and document APIs by allowing users to quickly put together both simple and complex HTTP requests.
Setting up Postman
Okay, enough of the background theory, let’s start setting up Postman.
You can set up Postman in one of two ways; the first is as a chrome extension but I would recommend installing it as a standalone application and in order to do that, download it from https://www.getpostman.com/downloads/

Download it for whichever operating system you need.
A good place to go for a free API is https://jsonplaceholder.typicode.com/
Let’s dive straight into Postman, open it up and it
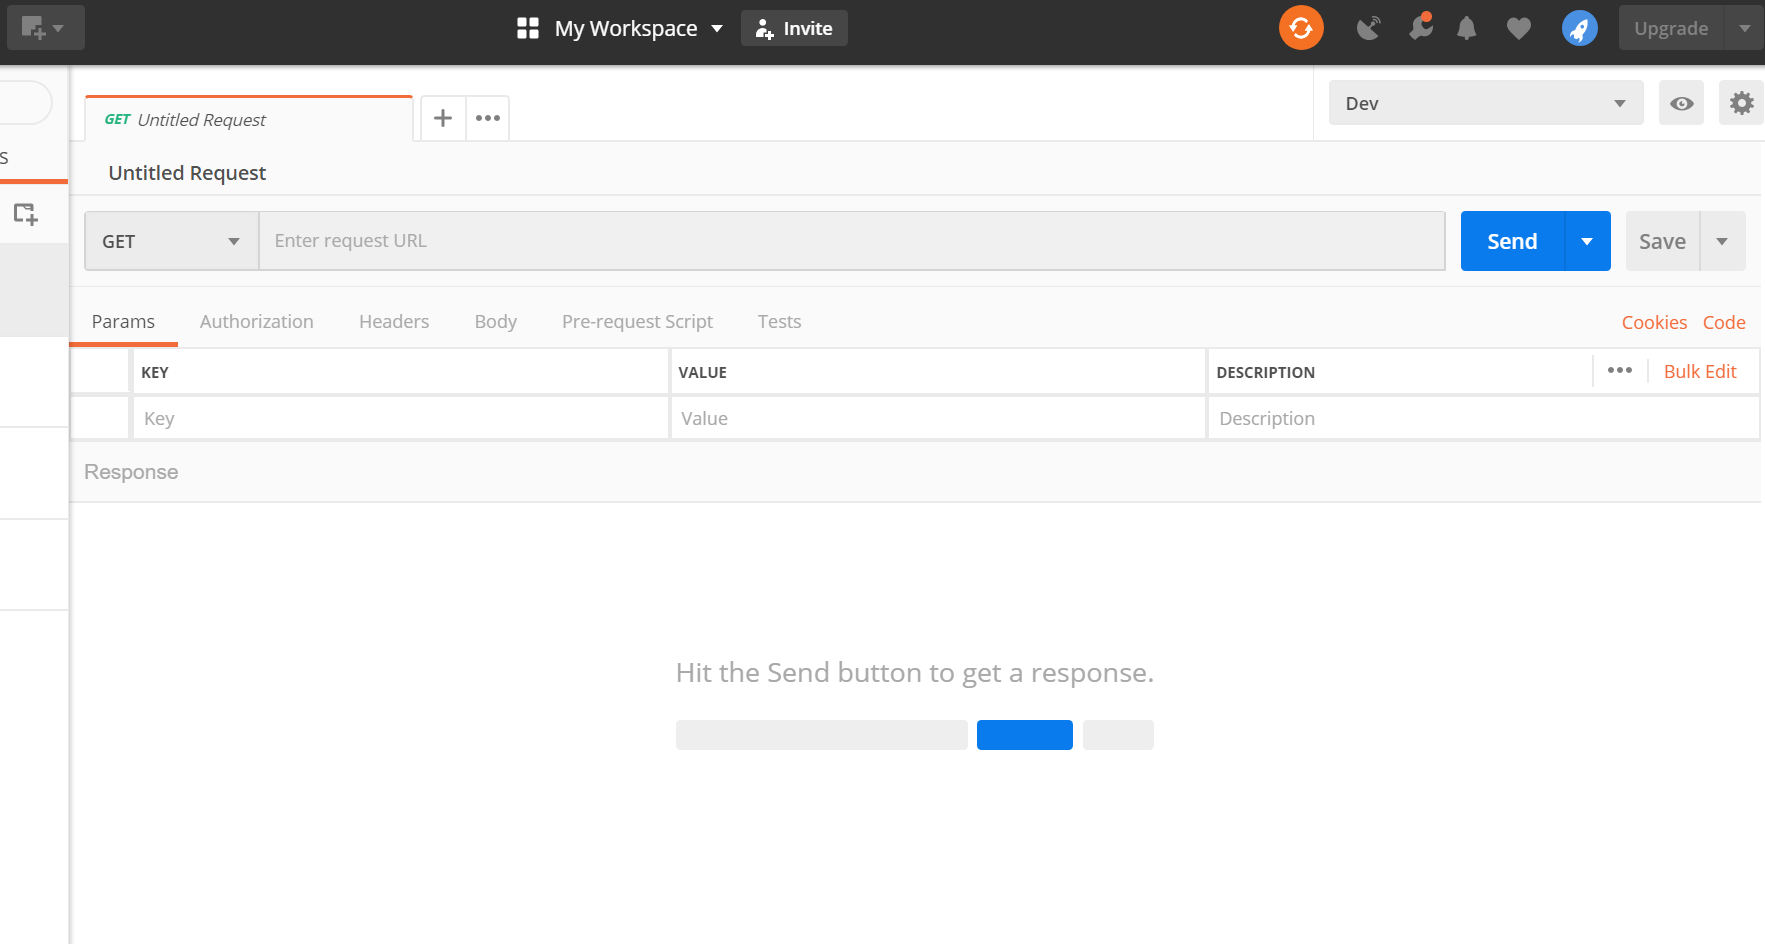
The basic language required for REST HTTP methods are the commands POST, GET, PUT, and DELETE.
GET – Retrieve data
POST – Creating data
PUT – Updating data only
DELETE – Delete data
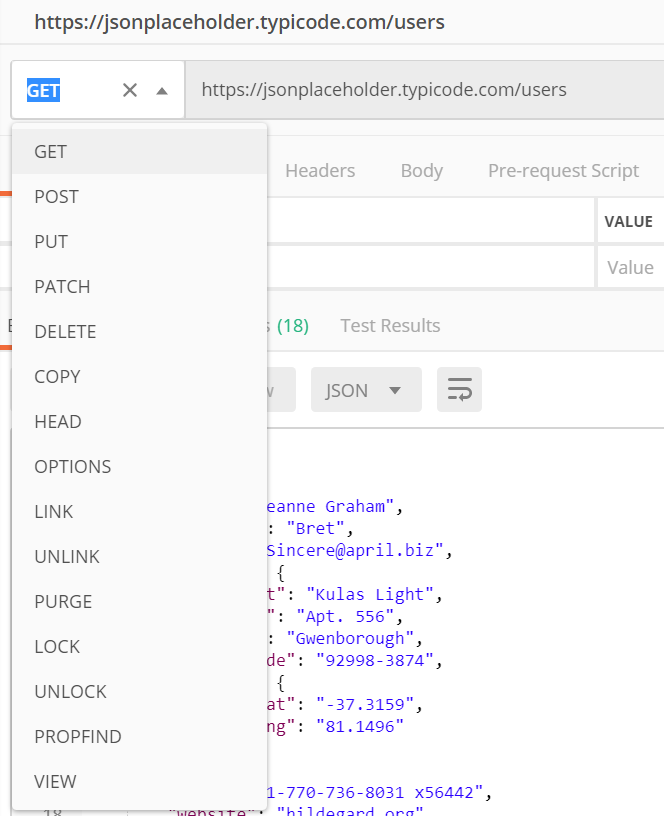
There are many other request calls that we can make in Postman
Let’s get straight into the action and run our first get request. To make a valid request, the client needs to include 4 things:
1. URL
2. Method
3. List of Headers
4. Body
We want to make a request to get the users data so enter https://jsonplaceholder.typicode.com/users in the URL bar as a GET command and hit send. What we have done is made a request call and the response has returned a list of users.
![]()
Let’s take a closer look at the response and the Postman functions available to us.
Header – Headers provide meta-information about a request
Body – The request body contains the data you wish to send
The first thing to notice is the response status returned was of status code 200. This tell us the response code was successful. Some other key response codes are 404 which is usually when Page not found and 500 when there is a server error. A full list of response codes can be found at https://httpstatuses.com/
We can also see how long it took for the response to come back as well as the size of the response
Next the output body contains data in several different forms. We want to get it into Pretty JSON format which displays all the key, value pairs as below.

Great, so we have had an introduction to APIs, API testing, set up postman and created our first API request. In our next part, we will go a bit deeper and look at setting up our test suite containing different types of API tests and use more of the Postman functionality.