
TFS Builds Part 2
Go to your TFS project. If you haven’t got TFS Set up, please go take a look at my blog series on setting up TFS https://www.trickydefects.com/2016/03/17/setting-up-tfs-2015-online-for-scrum-part-1/
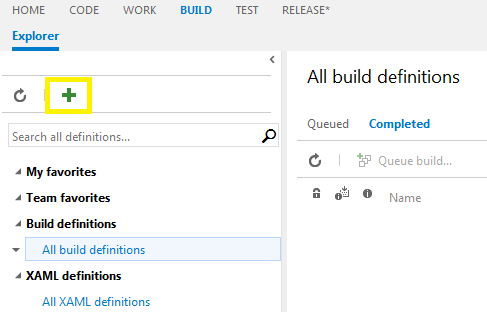
Create a new Visual Studio Template, follow the default settings to create a build
Click on the add button to create a new build definition, you can select the default selections. You should now see the 4 Build steps.
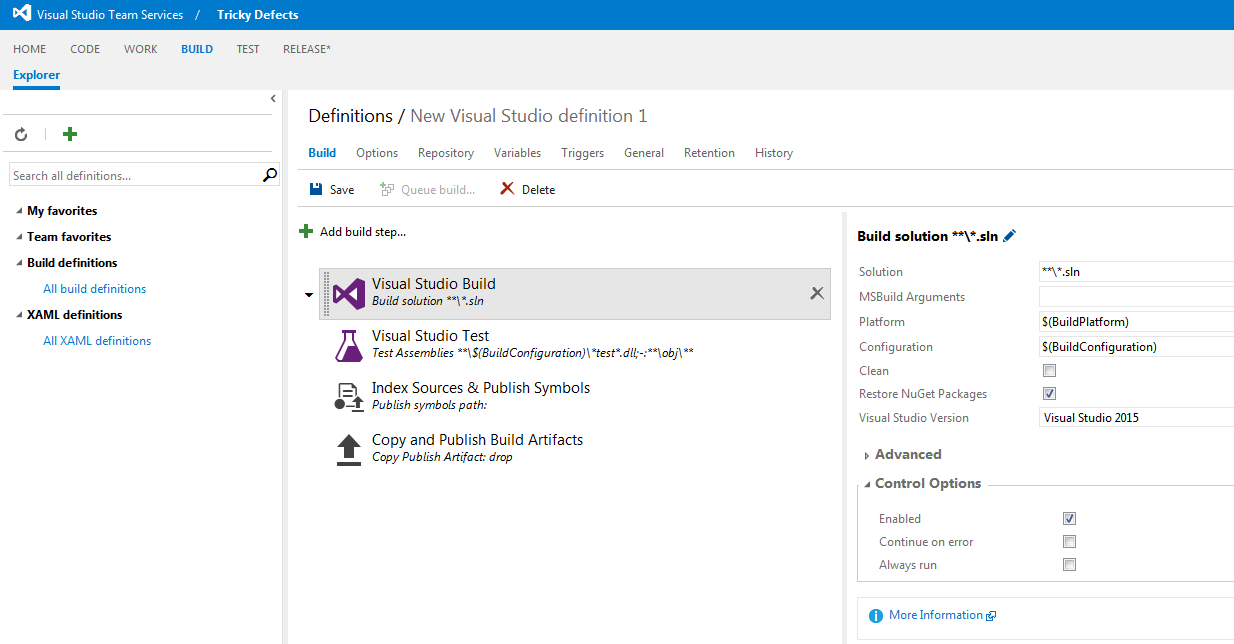
Save the build and give it a meaningful name.
Now before you can use the build definition, you need a build agent. Go to the settings in top right hand corner and go to agent pools and download agent into an appropriate folder location.

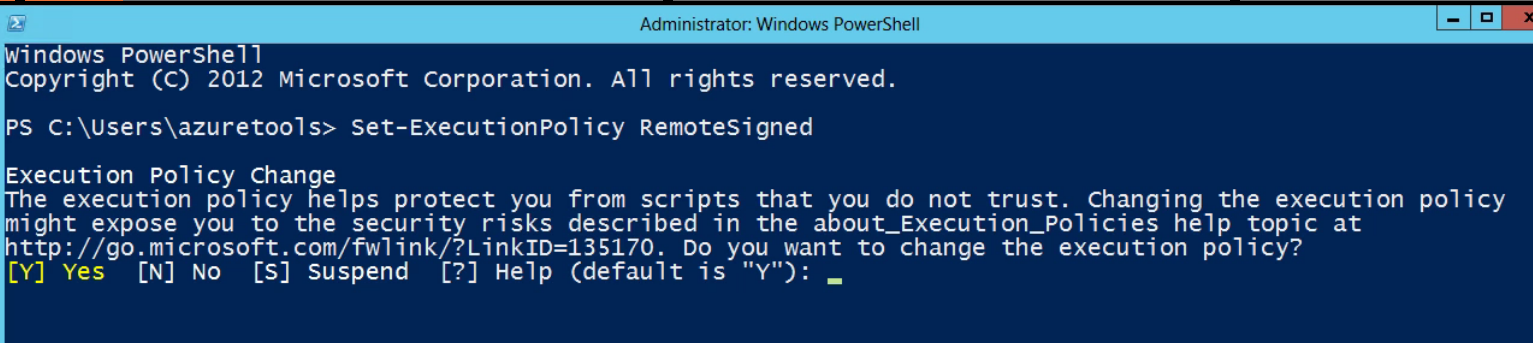
You then need to configure the agent in powershell. Run as Admin
Navigate to the agent
Type in Get-ChildItem –Recurse * | Unblock-File
Followed by .\ConfigureAgent.ps1
You will then be asked to enter the name for the agent
Enter the url you use for TFS
Enter the Pool name
Answer all the questions that appear:

Go to services and it should now be running. ..and there you go, you are now ready to start running builds.
In the final part of this blog series we will we run the build and run some tests to validate the build.